How to Become a Pharmacy Technician: A Step-by-Step Guide
Are you considering a career that combines your love for healthcare with your knack for organization? Becoming a pharmacy technician might be the perfect fit for you.
Imagine working in an environment where you can make a real difference in people’s lives every day. Picture yourself as a vital part of a team, ensuring patients get the right medications while gaining valuable skills and experience in the process.
Sounds exciting, right? In this guide, you’ll discover the steps to becoming a pharmacy technician, from education requirements to landing your first job. We’ll break down the process into clear, manageable steps, so you can confidently move forward in your career path. Stay with us to uncover not just the “how,” but also the “why” this role is so rewarding. Don’t miss out on the opportunity to step into a career that’s in demand and offers a sense of fulfillment. Let’s dive in and explore how you can make this happen.
Role Of A Pharmacy Technician
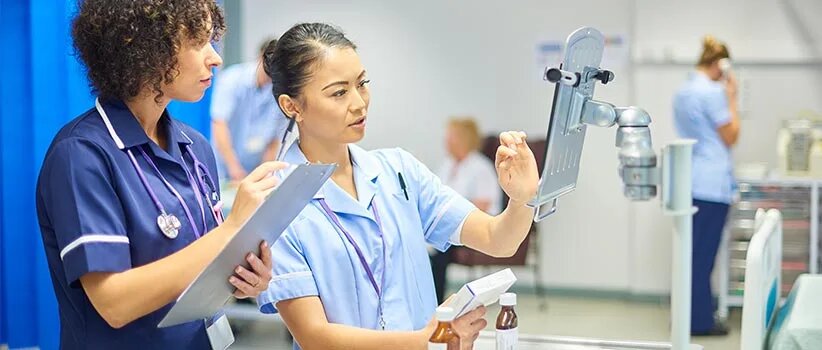
Pharmacy technicians support pharmacists in preparing and dispensing medications. Start by completing a pharmacy technician training program. Certification may be required, depending on the state.
The role of a pharmacy technician is both crucial and rewarding in the healthcare industry. Pharmacy technicians assist pharmacists in ensuring that patients receive the correct medication and dosage. They are often the bridge between patients and pharmacists, helping to make healthcare more accessible and efficient.
Daily Responsibilities
Pharmacy technicians handle a variety of tasks each day. They prepare prescription medications, measure and package them, and label the bottles. Imagine being the one who ensures each patient gets the right medication every time. Your attention to detail matters greatly. A simple mistake in measuring a medication can have significant impacts. This makes the role both challenging and fulfilling.
Patient Interaction
Communication is a key part of a pharmacy technician’s job. You will answer questions from patients about their prescriptions. Sometimes, you’ll be the reassuring voice that patients need when they’re confused or worried about their medications. Have you ever felt the satisfaction of helping someone in need? As a pharmacy technician, you do this every day. It’s your chance to make a real difference in people’s lives.
Collaboration With Pharmacists
Pharmacy technicians work closely with pharmacists to ensure everything runs smoothly. You’ll assist in managing inventory, keeping track of medication supplies, and maintaining records. This teamwork ensures that pharmacies operate efficiently and safely. Think of yourself as a vital team player. Your support helps pharmacists focus on their core responsibilities, like advising patients and healthcare providers.
Regulatory Compliance
Pharmacy technicians must follow strict guidelines and regulations. This includes maintaining patient confidentiality and ensuring that all procedures comply with legal standards. Your role is essential in upholding the integrity of the pharmacy. Are you ready to take on this responsibility? Being a pharmacy technician requires a commitment to ethical practices and ongoing education.
Opportunities For Growth
The role of a pharmacy technician can be a stepping stone to further opportunities. With experience, you might specialize in areas like compounding or nuclear pharmacy. Many technicians also choose to advance their careers by becoming pharmacists or pursuing healthcare management roles. Where do you see yourself in five years? Starting as a pharmacy technician opens doors to numerous possibilities in the healthcare field. In the end, being a pharmacy technician is more than just a job. It’s about being part of a team that improves patient health and wellbeing. If you’re detail-oriented, compassionate, and eager to learn, this might be the perfect path for you.
Required Skills And Qualities
Becoming a pharmacy technician requires more than just technical knowledge. It involves a set of skills and qualities that ensure success in the role. These skills help pharmacy technicians perform their tasks efficiently and maintain a high level of service. Understanding these required skills and qualities is essential for anyone pursuing this career.
Attention To Detail
Pharmacy technicians handle prescriptions and medications daily. They must pay close attention to details to avoid errors. Mistakes in dosage or medication can have serious consequences. Precision is crucial in this job.
Strong Communication Skills
Pharmacy technicians interact with pharmacists, doctors, and patients. Clear communication ensures accurate information exchange. They must listen carefully and explain instructions well.
Basic Math Skills
Calculating dosages and converting measurements is part of the job. Strong math skills help avoid mistakes. These calculations are vital for patient safety.
Organizational Skills
A pharmacy can be a busy place. Staying organized helps manage tasks efficiently. Good organization ensures that prescriptions are filled accurately and on time.
Customer Service Skills
Interacting with patients is a regular duty. Good customer service skills ensure a positive experience. It helps in building trust and understanding with patients.
Dependability
Pharmacy technicians must be reliable and punctual. Their role is critical in the healthcare system. Being dependable ensures the pharmacy runs smoothly.
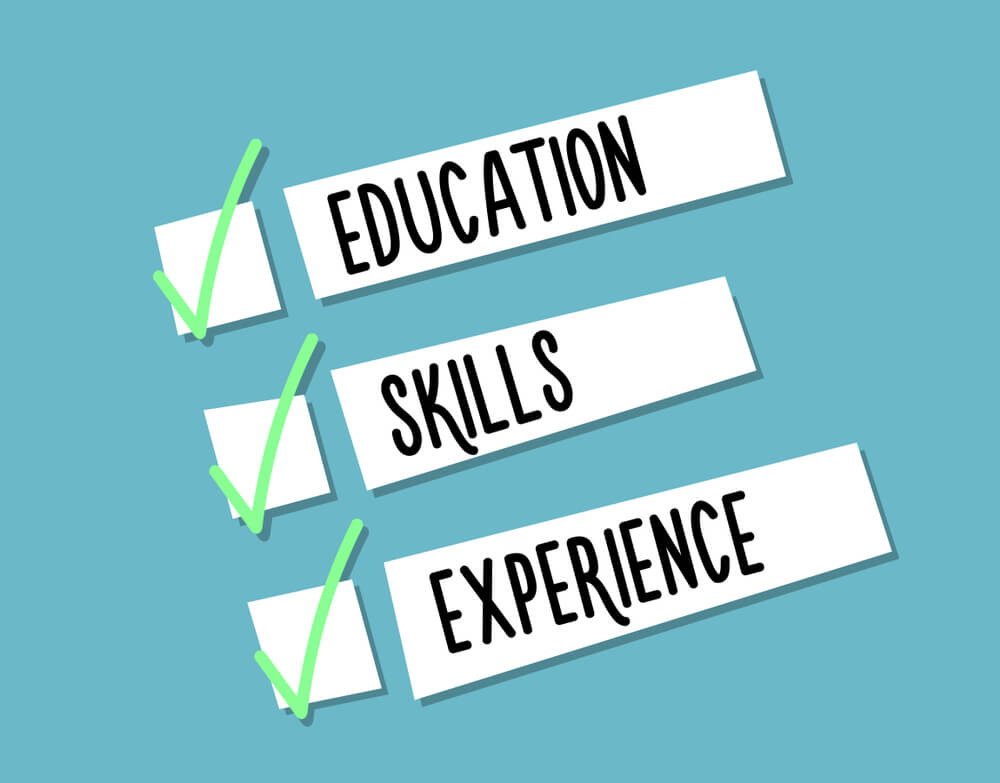
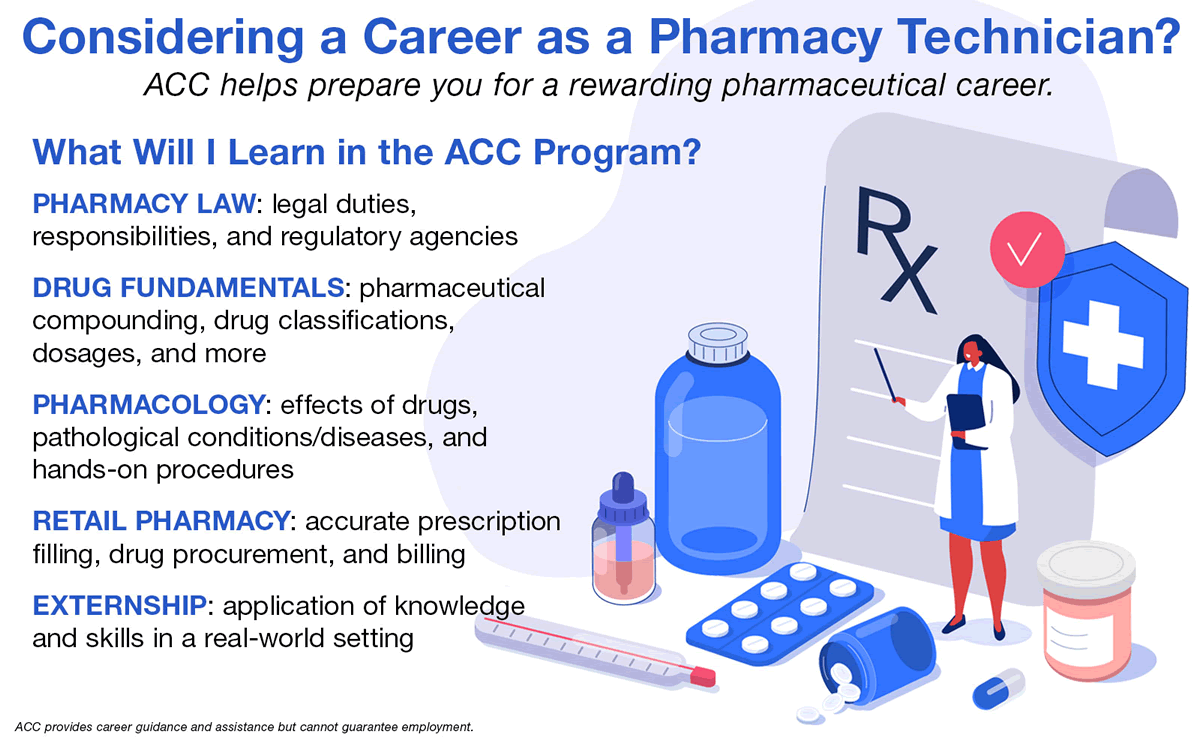
Educational Pathways
Becoming a pharmacy technician involves completing a high school diploma and enrolling in a certification program. Training covers medication management and customer service skills. Passing a certification exam is essential for employment opportunities in pharmacies and hospitals.
Embarking on a career as a pharmacy technician is an exciting journey filled with opportunities for growth and learning. One of the key elements in this journey is understanding the various educational pathways available to you. Whether you’re still in high school or considering certification or degree options, each pathway offers unique steps to help you reach your goal.
High School Preparation
Your journey can begin as early as high school. Focus on subjects like chemistry, biology, and mathematics. These subjects lay a strong foundation for understanding medications and calculations necessary in pharmacy settings. Consider volunteering or shadowing at local pharmacies. This gives you hands-on experience and a real-world view of what a pharmacy technician does daily. Engage in extracurricular activities that build communication skills. Strong communication is vital when interacting with pharmacists and customers.
Certification Programs
Certification programs offer a direct path to becoming a pharmacy technician. These programs typically take a few months to a year to complete. They cover essential topics like pharmaceutical calculations, drug classifications, and pharmacy law. Look for programs accredited by the Pharmacy Technician Certification Board (PTCB). Accreditation ensures the program meets industry standards and prepares you effectively for the certification exam. Prepare for the certification exam with practice tests and study guides. Passing this exam validates your knowledge and skills, boosting your career prospects.
Degree Options
Consider pursuing an associate degree in pharmacy technology for a more comprehensive education. Degree programs often include internships, providing valuable hands-on experience in real pharmacy settings. Courses in these programs delve into advanced topics, such as pharmacology and healthcare ethics. This deeper knowledge can set you apart in the job market and may lead to more advanced roles. Earning a degree can also open doors to further education. If you’re interested in expanding your career, think about how a degree could be a stepping stone to becoming a pharmacist or pursuing other healthcare roles. What educational pathway suits you best? Take a moment to reflect on your strengths, interests, and career goals. Remember, each step you take brings you closer to a fulfilling career as a pharmacy technician.
Certification And Licensing
Certification and licensing are crucial for aspiring pharmacy technicians. They ensure the quality and safety of pharmaceutical services. These credentials validate your skills and knowledge, making you stand out. Understanding the requirements is the first step on this rewarding career path.
Exam Requirements
To become certified, you must pass a national exam. The Pharmacy Technician Certification Exam (PTCE) is popular. It tests your knowledge in several key areas. Medication safety, pharmacy law, and drug interactions are included. The exam is multiple-choice and computer-based. Preparing well boosts your confidence and chances of passing.
State Regulations
Each state has unique licensing regulations. Some states require certification before working. Others allow on-the-job training first. Research your state’s specific requirements carefully. Keeping up with changes in regulations is also important. This ensures you remain compliant and informed.
Gaining Experience
Gaining experience is vital for anyone aspiring to become a pharmacy technician. It bridges the gap between theoretical knowledge and real-world skills. Experience enhances your ability to handle practical tasks and challenges. It also boosts your confidence in a pharmacy setting. Below are some effective ways to gain this valuable experience.
Internships
Internships offer hands-on learning in a professional pharmacy environment. They allow you to work alongside experienced pharmacists and technicians. You learn about medication management and customer service. Internships can also introduce you to pharmacy software and inventory systems. These programs often last several weeks or months. They provide a comprehensive view of daily pharmacy operations. Many educational institutions offer internship opportunities as part of their programs. Check with your school or local pharmacies for available internships.
Entry-level Positions
Entry-level positions provide a great start in the pharmacy field. These roles may include pharmacy aide or assistant jobs. They involve tasks like organizing medication and assisting customers. Entry-level roles do not always require certification. They are an excellent way to get accustomed to the pharmacy environment. Working in these positions helps you understand the workflow of a pharmacy. You also gain essential customer service skills. Over time, you can transition into more advanced roles. This gradual progression helps build a solid foundation for your career.
Job Search Strategies
Embarking on a career as a pharmacy technician requires strategic job search skills. Knowing where to begin your search can make the process smoother. Effective job search strategies help you stand out in a competitive market. This section offers practical advice for crafting a strong resume and acing your interview.
Resume Tips
Your resume is your first impression on potential employers. Keep it clear and concise, highlighting relevant skills and experiences. Use bullet points for easy reading. Include any certifications or training you’ve completed. Tailor your resume for each job application. Focus on pharmacy-related skills like medication preparation and customer service. Double-check for spelling and grammar errors. A polished resume shows professionalism.
Interview Preparation
Prepare thoroughly for your pharmacy technician interview. Research the company and its values. Practice common interview questions about handling prescriptions and customer interactions. Dress professionally to make a good impression. Arrive early to show punctuality. Bring extra copies of your resume. Listen carefully to the interviewer’s questions. Respond clearly and confidently. Ask insightful questions to show your interest in the role. Follow up with a thank-you note after the interview. It reinforces your enthusiasm for the position.
Career Advancement Opportunities
Embarking on a career as a pharmacy technician opens doors to numerous advancement opportunities. As you gain experience, the pharmacy field offers diverse paths for career growth. You might find yourself wondering, “What’s next?” Let’s explore the exciting avenues available for pharmacy technicians seeking to climb the career ladder.
Specialized Roles
Pharmacy technicians can pursue specialized roles that focus on specific areas of pharmacy practice. Consider becoming a chemotherapy technician, where you assist pharmacists in preparing cancer treatment medications. This role not only requires precision but also offers the satisfaction of contributing directly to patient care.
Another specialized opportunity is working as a nuclear pharmacy technician. In this role, you handle radioactive materials used for diagnosis and treatment. It’s a unique niche that requires special training, making you stand out in the field.
These specialized roles often come with increased responsibility and can lead to higher pay. Which area piques your interest?
Further Education
Advancing your career might also involve further education. Earning additional certifications can enhance your expertise and open doors to more senior positions. For instance, consider obtaining the Certified Pharmacy Technician (CPhT) credential, which is recognized nationwide and boosts your professional credibility.
Pursuing an associate’s or bachelor’s degree in pharmacy technology can also be beneficial. Such degrees often cover advanced topics and leadership skills, preparing you for roles like pharmacy supervisor or manager.
Education is a powerful tool for advancement. What steps will you take to elevate your career?
Career advancement in pharmacy offers rewarding possibilities. With specialized roles and further education, you can shape your path to success. Take charge and explore these opportunities to find the right fit for your aspirations.

Frequently Asked Questions
What Does A Pharmacy Technician Do?
A pharmacy technician assists pharmacists in dispensing medications. They manage inventory, prepare prescriptions, and handle customer inquiries. Their role is crucial in ensuring patients receive the correct medications. They also maintain records and ensure compliance with regulations. This position requires attention to detail and strong organizational skills.
How Long Does It Take To Become One?
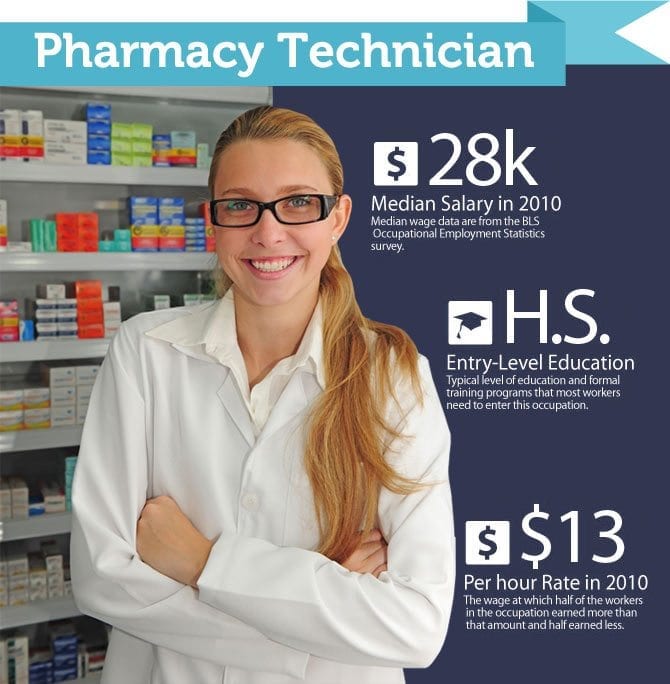
It typically takes one to two years to become a pharmacy technician. This includes completing a postsecondary education program or on-the-job training. Certification may be required, which involves passing an exam. Some states also require continuing education to maintain certification.
What Qualifications Are Needed?
To become a pharmacy technician, a high school diploma or equivalent is required. Some states require completion of a training program or certification. Certification can be obtained from organizations like the Pharmacy Technician Certification Board. Strong math skills and attention to detail are also essential.
Is Certification Required For Pharmacy Technicians?
Certification is often required, depending on the state regulations. The Pharmacy Technician Certification Board and the National Healthcareer Association offer certification exams. Obtaining certification demonstrates competence and professionalism. Some employers may prefer or require certification for hiring pharmacy technicians.
Conclusion
Becoming a pharmacy technician is a rewarding journey. It starts with education and training. Then, gain hands-on experience. Certification boosts your job prospects. Pharmacy technicians play a crucial role in healthcare. They support pharmacists and help patients. Follow the steps to enter this promising field.
Stay updated with new practices and technologies. This ensures success and growth in your career. Remember, dedication and patience are key. Your efforts will lead to a fulfilling career as a pharmacy technician. Embrace the journey and make a difference in people’s lives.